Showing posts with label Desserts. Show all posts

Thursday, 19 November 2020

Whole Wheat Muffins Marbled With Ginger Orange Raisin Puree & Topped With Orange Icing

Several weeks ago, I posted about preserving a huge quantity of raisins close to their due date by making a puree. A small batch was done separately, one spiced with ginger and enlivened with orange juice which I envisoned would eventually marble whole wheat muffins. The vision has been realised and here they are! And they are beyond fabulous, fluffy, rich with egg, butter, and milk, sweetened with maple sugar and the oh so tasty ginger orange raisin puree, not to mention the extra oomph of orange icing.

Ingredients
makes ten (batter filled to the brim which is my preference) to twelve muffins (batter filled 3/4 to the brim)

  • Flour, whole wheat, 240 g (2 American 8 fluid oz cups)
  • Sugar, 100 g ( 1/2 American 8 fluid oz cup/8 T)
  • Sugar, brown, (1/2 American 8 fluid oz cup/8T) or in my case stir in 1.5 tsp of maple syrup into white sugar
  • Baking soda, 1 tsp
  • Egg, l
  • Vanilla extract, 1/4 tsp
  • Milk, whole, 1 American 8 fluid oz cup/16 T)
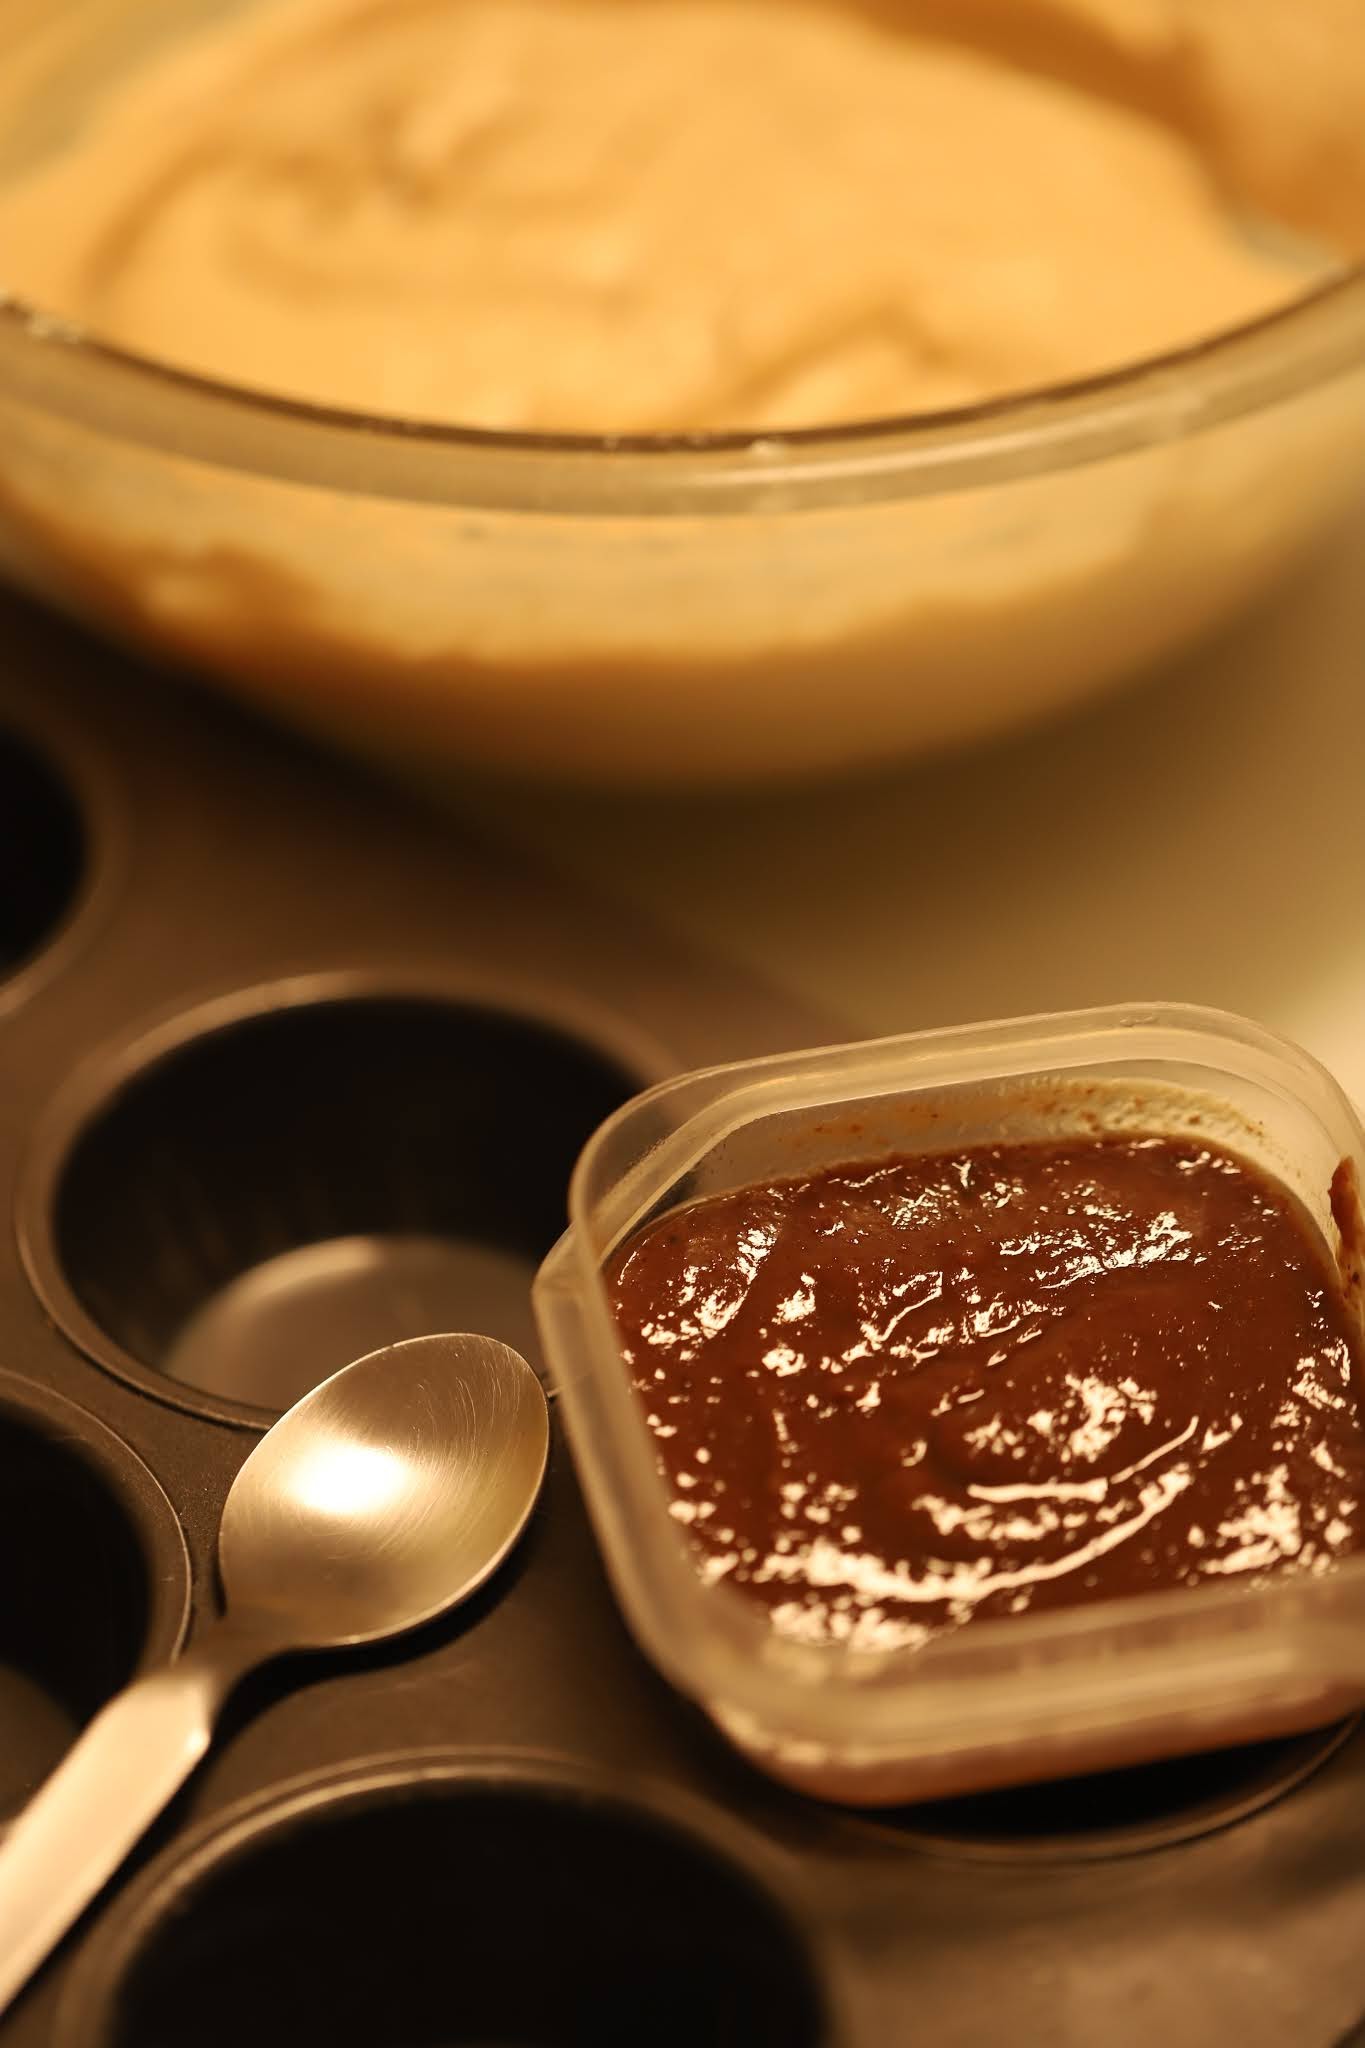
  • Orange ginger raisin puree, 4 T (recipe is here)
  • Orange juice and icing sugar depending on the amount and consistency of the finished icing (I use 3 T of juice to about 9 T of confectioner's sugar)


Preheat oven to 400 degrees F. Liberally brush a 12 muffin tin pan with butter, making sure each well is well doused along with a bit just outside their perimeters. 


If opting for maple sugar instead of brown sugar, stir in 1.5 T of maple syrup to 1/2 cup of sugar and reserve.


Using either an electric aid (in my case, a stick mixer) or elbow grease, cream butter, sugars, and baking soda until resembling mashed potatoes.


In a separate small bowl beat the egg with the vanilla and add to creamed mixture. Beat in the milk, and then gradually the flour until it is all barely incorporated. It's time to fill the muffin tins.


Fill the tin 1/4 the way and drop about 3 to 4 small amounts of the raisin puree. Repeat until the well is either 3/4 filled or in my preference, to the brim.

With a wooden skewer inserted right to the bottom of a well, swirl the batter, Turn the pan a quarter, and repeat.


Bake around 17 minutes or until centres are springy to the touch and/or a skewer is inserted and comes out clean. Let cool in the pan for a minute or two and then work carefully around each well with a butter knife. Turn the pan over and gently shake out the muffins. Let cool.


For the icing start with one tablespoon of orange juice and add enough icing sugar to get the consistency desired. The topping can be quite thick where it is spread on or it can be close to watery so it soaks into the muffin which is what I did.


Best whole wheat muffin ever! It's quite sweet, so besides gracing the breakfast/snack table, it would do just as well if served for dessert. The surplus chez nous was frozen and I can't wait to eat one of these soooooooooooon. Egads, they are DELICIOUS.


À la prochaine!


Thursday, 22 October 2020

Preservation of Produce: Raisin Puree

The other day I finally noticed two, large,  long-neglected bags of raisins in our sous-sol cupboard. They were a smidgin away from their due date. Though I been wanting to bake some whole wheat raisin muffins for a while, I figured doing that would use up just a fraction of this dry fruit deluge so what to do with the rest? Fruit puree, whether fresh or made from dried fruits, freezes well.


I made two separate batches of raisin puree. The larger one was covered with water.


A smaller batch was covered instead with orange juice, and a large pinch of powered ginger was stirred in. Both batches were lidded and placed in the fridge for twenty-four hours.


My 750 watts Bosch hand-held mixer did the small batch with ease, taking about ten minutes to reach a very smooth consistency.


The larger batch took forever, at least it seemed that way. About 8 PM, I started the blending. After ten minutes the mixer heated up so much that it was necessary to let it cool for about a half hour so as not to burn out the motor. This was repeated four times bringing me close to bedtime. Therefore I left the partially processed puree, covered, in the fridge overnight. The next morning, I was able to finish the blending in ten minutes. It's possible that not only was this batch significantly bigger, it is also conceivable that water doesn't macerate the raisins as readily as orange juice.  I would suggest that small batches in general would be easier to do, but also if you want to do a large one, then let soak in the fridge for two to three days. The puree is absolutely delicious and is versatile. I marbled yogurt and swirled some through hot oatmeal. I imagine that it would be great as a topping for ice cream or served with a cheese platter in place of honey or jam. Whole wheat muffin batter is just calling for the marble treatment which is what I am planning to do fairly soon, choosing the orange/ginger batch. Perhaps an orange icing drizzle on top?


To marble either yogurt or muffin/cake batter: Put separate dollops of puree and yogurt/batter in a checkerboard pattern in the first layer. For consequent layers, alternate the dollops, that is, put puree over yogurt/batter, then yogurt/batter over puree until the glass or baking pan is filled. Using a wooden skewer, insert it all the way to the bottom of the glass or pan and working from side to side, twirl the skewer. Turn the glass or pan a quarter turn and repeat the twirling.


À la prochaine!

Thursday, 3 September 2020

Keeping Up With The Figs Plus The Late Summer Garden

Our fig tree started last week to present fruit ripe enough for picking. Presently it is yielding about twenty large figs daily. Learning from our massive blackberry harvest earlier in the season, I knew I wanted to process our figgy bounty in a similar way. Without generating any more heat than what the summer was already providing along with retaining as much vitamin content as possible, the uncooked fruit in the case of the blackberries were put through a Foley mill followed by an addition of confectioner's sugar per sweetness preference; in the case of the figs, they, along with maple syrup, cinnamon, ginger, and nutmeg added to taste, were pureed with a stick blender. Once portioned and popped into the freezer, these home-grown fruits will be ready for future use in all kinds of goodies. I do reserve daily some fresh fig puree to mix into yogurt or if I am experiencing a super home-grown-fruit-appreciation day, I make a tall parfait to take out into the garden. It showcases our blackberries, blueberries, and figs all in one fell swoop. First goes in a layer of crumbled blueberry muffin, followed with the spiced fig puree, blackberry coulis, and yogurt. Topped with more muffin crumbs and a deluge of fig puree and blackberry coulis, it is out of this world with the goodness of fruit.

I love digging a spoon in and seeing swirls of fig puree and blackberry coulis spontaneously appear in a plethora of patterns.


A blueberry muffin crumb gracing the gustatory situation just makes everything even better.


Not only are fig trees vigorous, they are also easy to grow and maintain. Pruning is not that difficult as the wood isn't too hard. Since arriving here ten years ago, I haven't yet fertilised it. I do water it in between rains during summer. How to know when they are ripe? First thing, you need to know the colour for your fig variety when it's mature. Ours is mostly purplish brown with swatches of green. Also the fig should not be right angles to its twig/branch, but instead be drooping a bit. Additionally when pressing ever so gently, it will feel like a small balloon filled tightly with air. Lastly, though not always, there will be a drop of juice oozing from the bottom centre. Those are best eating right out of hand immediately. Picking involves slightly twisting the stout stem that afixes each fig to its branch until there's a plump packet of delight sitting in your palm. Since their skin is fragile, bruising easily which is why storebought figs are expensive, place each fig in a single layer. Recycled egg cartons are great as fig harvest baskets.


Two thirds of our tree is in our garden and the other third is in .  .  .

. . . in the yard of a refrigeration depot which is directly behind our urban garden. When their entrance is open I can harvest figs from that side. This coming late winter, I will remember to prune that part of the tree which presently is touching the ground!


Late summer is such a lovely time. It's so enjoyable to sit under the pergola and gaze upon . . .


. . . all the abundance.


Out in the front garden, the border directly in front of the balcony stairs leading to the front entrance door is a tropical riot of yucca and canna with a cooling splash of temperate dahlias, lobelia, and sedum.


À la prochaine!

Thursday, 9 July 2020

Preservation of Produce: Blackberry Coulis

Our single blackberry bush already has given us ten litres and is still going as there's no tomorrow. I suspect there's another ten litres in its future.


Our cultivar is thornless which makes harvesting a cinch.


Though consistently watered and pruned, I yet have fertilised it in the ten years we have been here. I am not sure if I ever want to as its largesse is already a challenge to keep on top of via processing. Pruning is a simple job of keeping the new canes which spring up during summer not much longer than ninety centimetres (three feet) and its lateral branches approximately thirty centimetres (one foot) in length. After all the berries are picked, then the canes that sprung up last summer and carried the present harvest will be clipped off at ground level. In the below photo, the new cane on the left which will bear fruit next season has been trimmed; the older cane, once all its berries have been plucked, will be removed completely.


A ripe berry will have plump, individual drupelets. If they ripen too much, their fibrous centres will be replaced with juice which can be seen oozing among the drupelets. The juice can become slightly fermented; when popping one such berry into your mouth, it's like taking a tiny sip of blackberry wine.


A Foley mill made short order of all those berries.


Icing sugar was added to the sieved, mashed, fresh berries, better known as coulis, until it reached the desired sweetness which isn't too much as additional sweetening can be added if desired. It is the uncooked state of the fruit that gives such a burst of flavour as contrasted to a puree which is sieved, mashed, cooked fruit.


Those ten litres of blackberries became three litres of coulis. Besides ladling it into variously sized containers, ice cube trays were filled also. Once frozen, the cubes were placed into a ziplock bag. The luscious coulis, once defrosted or if your mixer is powerful enough, throw in a few blackberry ice cubes instead, is used in smoothies (the one below has yogurt, water, coulis, maple syrup, and powdered ginger) . . .


. . . and parfaits (the one below has a layer of yogurt and one of creme fraiche, two of coulis, and a topping of yogurt marbled with coulis sprinkled with icing sugar) . . .


. . . not to mention a dessert sauce, as in the below photo, smothering coffee ice cream. Coulis can drench cake/muffins, fill doughnuts/hand pies/cake rolls, and made into blackberry butter (reduce either over a low flame or in an oven until very thick). Versatility, thy name is blackberry coulis.


À la prochaine!

Thursday, 2 July 2020

Blueberry Bonanza: Double Batch of Muffins and Cake

Our two potted blueberry bushes have given us three litres and show no sign of letting up. I looked at all those blueberries and said, Batch! I have been wanting to try Maida Heatter's Blueberry crumb cake showcased at Smitten Kitchen for a while now, and we had just finished the last blueberry muffin made from the previous harvest season. Channeling my inner blueberry counter, I concluded not only was there enough for each recipe, but both could be doubled. Since they are still coming in, I foresee blueberry jam in our near future.


The sizable amount of lemon zest along with cinnamon and a crumb topping in her recipe appealed immensely to me.


Ingredients
two 9 inch cakes or one large sheet pan cake, recipe can be halved
Adapted from Maida Heatter's recipe via Smitten Kitchen

Topping
  • Flour, all purpose, 80 g (I used pastry flour which made the crumbs most uncrumblike but still fabulous)
  • Sugar, granulated, 200 g
  • Cinnamon, ground, 2 tsp
  • Butter, sweet, 110 g
  • Salt, large pinch, 2
Cake
  • Flour, all purpose, 480 g
  • Baking powder, 4 tsp
  • Salt, table, 1 tsp
  • Butter, sweet, softened, 110 g
  • Sugar, granulated, 300 g (I accidentally doubled it to 600 g, and the cake was still not too sweet)
  • Zest from 2 large lemons
  • Eggs, large or medium, 2
  • Berries, fresh, clean & dry, 680 g (though Smitten Kitchen used 910 g!)
  • Milk, whole, 16 T
  • Vanilla extract, 2 tsp (I subbed maple syrup)
  • Icing sugar for dusting (in my case, with the double amount of sugar, there was no need)
Preheat oven to 375 degrees F. (If baking in two pans, then it's at 400 degrees F) Mix the topping ingredients, that is, flour, sugar, cinnamon and salt. Work butter into the mixture until crumbs are formed. Reserve. Line a round pan with parchment paper, greasing and flouring the paper. In a medium bowl, whisk flour, baking powder, and salt until blended.  In a large bowl, cream butter, sugar, and zest until light and fluffy (I used a stick blender, but it can be done in a food processor/stand mixer or by hand). With a wooden spoon (if not using a stand mixer), beat in eggs and vanilla (or in my case maple syrup). Stir in one third of the dry ingredient mixture until combined followed by one half of the milk. Repeat with the next one-third of the dry ingredients and the last half of the milk. Finish with the final one-third of the dry mixture. (For a fool-proof way of preventing berries from sinking, put a 2.5 cm (an 1/2 inch) thick layer of berry-free batter in the pan before folding them into the rest of the batter and topping up the pan.)) Gently fold blueberries into batter until well distributed. Pour into prepared pan and give it a shake or two to even out the batter. Scatter the crumbs.


Bake for forty minutes or until a toothpick inserted into the middle of the cake comes out dry and/or when you give a sprightly touch in the centre, the cake springs back. Cool cake at least twenty minutes before flipping it out onto a plate to remove the paper. Flip it back right side up. Dust with icing sugar if desired. The topping melted into a glaze (because I used pastry flour and soft butter instead of all purpose and cold butter) which added a nice cinnamony crunch.


Berry beautiful!


The cake is fluffy and the berries luscious.


The only change I made to the blueberry muffin recipe I have already used is to double the sugar and mash one fifth of the berries. Single batch recipe is here. I love how the muffins are well streaked with blue, and also it made the fresh fruitiness even more so.


Portioned up into single servings and popped in the freezer, the cake and muffins will be ready whenever we are to partake in their deliciousness.


À la prochaine!

Thursday, 18 June 2020

Fruit Jam Hand Pies Using Pastry Scraps

Pastry scraps are to be coveted. If they will not be used in a day or two or if there are not enough, put them in a plastic bag and pop into the freezer. As time passes, additional fresh snippets can be placed with the frozen ones.  Of course, store-bought pastry can be used instead for these hand pies. 


Where did these particular pastry scraps come from? From the gorgeous chicken pot pie which is once again gracing our menu! During the lockdown, The Calm One, the official shopper chez nous, would venture forth with the attestation printed off the government's website stating which grocery store he was going to, therefore not being able to pop into several stores as is his normal food-shopping routine. So the shop where he bought our chickens didn't get a visit until recently.


Preheat oven to 220 degrees C/425 degrees F. Remember to keep one half of the rounds free of jam to top the other half that are dolloped with jam. In my case, I had twenty circles and ended up with ten hand pies. Once the pastry is rolled out and cut (I used a 7 cm/3 inch cookie cutter but a glass would be fine also) . . .


. . . one has to choose which jam (1/2 to 1 tsp) to plop onto the pastry circles.


We love variety so there's blackberry . . .


. . . and peach . . .


. . . last but not least, raspberry.


If less puffy pastries are preferred then thoroughly prick the circles with a fork before baking for around fifteen minutes or until they are golden brown. Dust with powdered sugar while they are still hot.


Some like when the hand pies ooze.


Others don't. If in that group then before assembling the circles, dab cold water around their edges. Seal firmly. Also put just a tiny amount of jam! To ensure portion control, I place them in a single layer in a shallow plastic container and freeze. It takes about an hour for them to defrost. I love having mine with a piece of dark chocolate and a cup of mint-flavoured green tea.


À la prochaine!