Tuesday, 26 March 2013

Golden Shrimp Chowder

During my childhood in New York City, my favourite soup was creamy New England Clam Chowder.  I know, I know, being a New Yorker I am supposed to be partial to a thinnish, tomato-based monstrosity called Manhattan Clam Chowder.  For me a chowder has to be thick, milky, salty, floury, and redolent with black pepper in order to be called a chowder.


I have yet to find large, succulent clams in France that I use for making a really good chowder, but it is easy to find fairly decent frozen, prepared shrimp.   Though substituting shrimp for clams, this recipe still retains many characteristics of my favourite chowderLacking cream and butter, this soup isn't highly caloric as its richness and golden colour relies on some of the shrimp and carrots being blended.

Ingredients
(makes 5 servings or lunch/supper for two)

  • Flour, white, 5 T
  • Shrimp, frozen, and already prepared/cooked, 1 1/4 cups*/200 grams
  • Water, 4 1/4 cups*/1 liter
  • Shrimp liquid, 1/4 cup*/60 ml
  • Carrots, small dice, 1 cup*/160 grams
  • Potatoes, cubed, 2 cups*/260 grams
  • Rosemary, fresh, 2 small sprigs (surplus can be dried) or dried, a large pinch
  • Milk, about 2 cups*/475 ml (depending on desired thickness)
  • Salt and freshly ground pepper to taste
*American measure, that is 8 fluid oz cups.

Gather your ingredients.


Either thaw shrimp or gently heat frozen shrimp.

Heat shrimp gently for just a minute or two as not to make them rubbery.

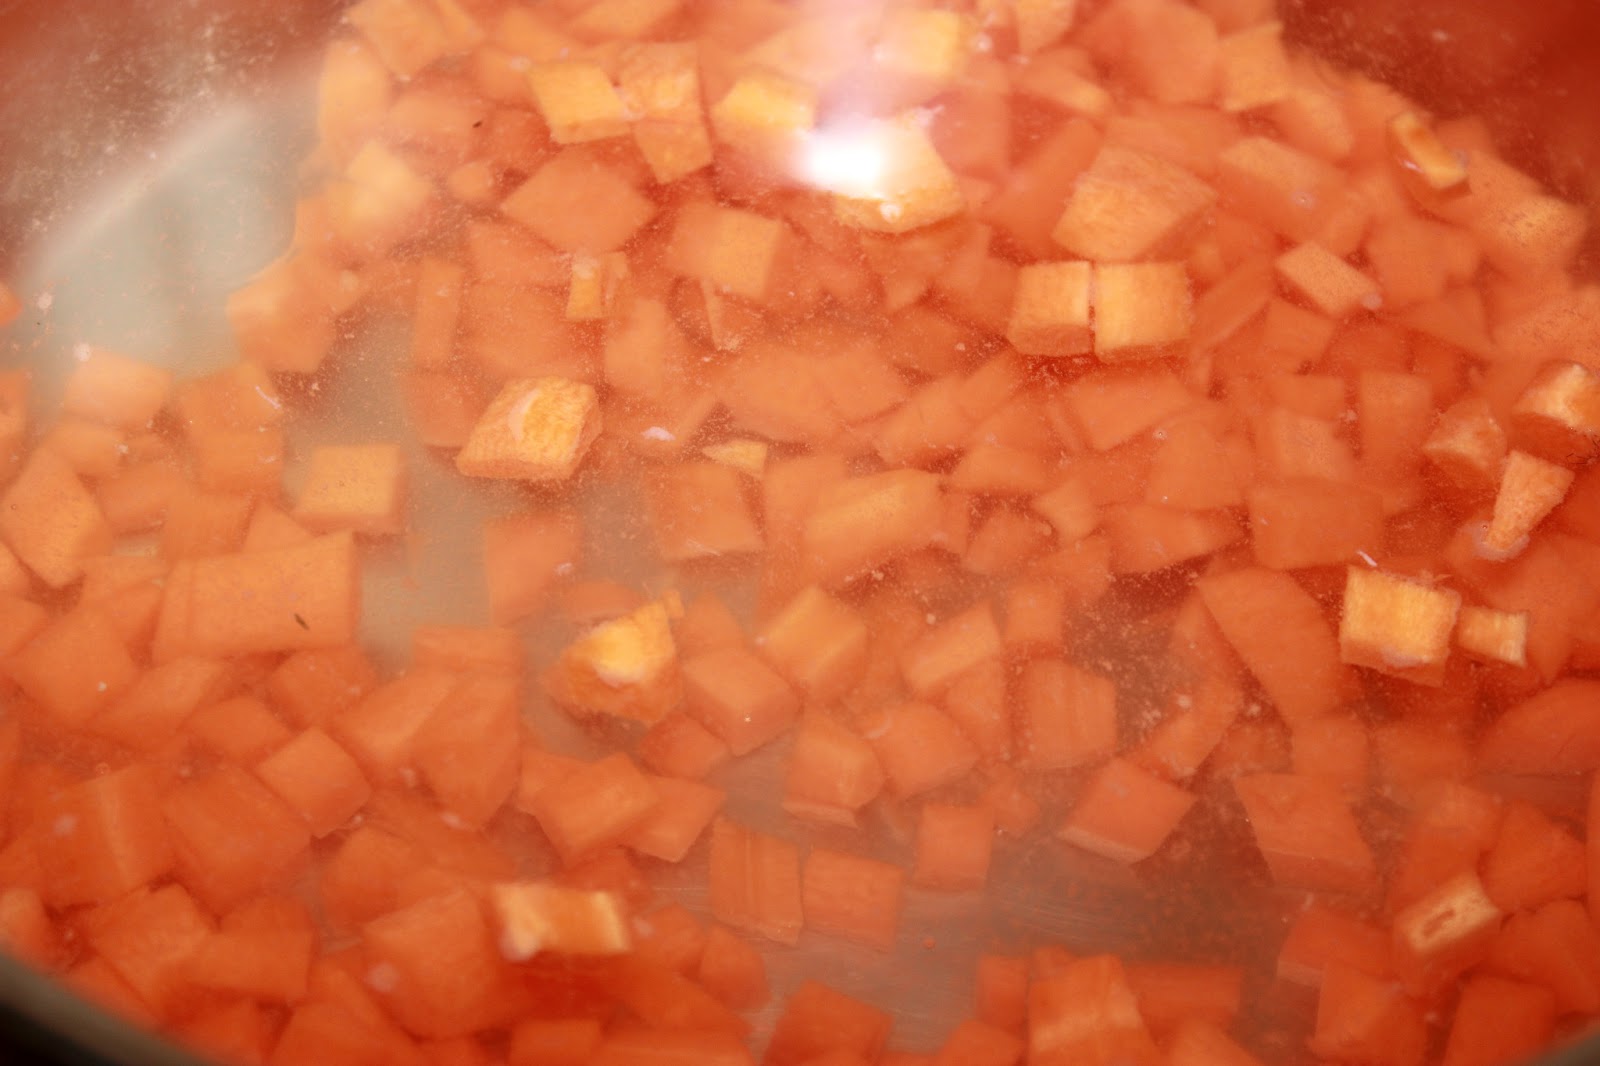
Wring shrimp with your hands as dry as possible letting the liquid run into a small bowl.  Reserve shrimp. Pour the shrimp liquid into a medium-size pot and add the water.  While the soup base is being brought to a simmer, cube potatoes and dice carrots.  Carrots need to be in smaller pieces than the potatoes.  Simmer carrots for about five minutes till half tender.


Add potatoes and cook for another ten minutes or until the veggies are tender.  Remove one half of the veggies and add them to the reserved shrimp.


Add one half to two thirds of the shrimp to the pot and blend the contents till smooth.  You can add extra shrimp if you want a stronger presence of seafood.


Add some pot liquid to flour in a bowl and blend with a hand-held mixer till smooth. You can cream the flour with the hot liquid with a spoon, rubbing the mixture on the sides of the bowl until lump free but it is a laborious task.


Add more pot liquid to flour mixture until it is on the thinnish side.  Whisk well.


Add back to pot and cook while stirring for five minutes till thickened and raw taste of the flour is gone.  Add rosemary and milk.


Season to taste with salt and freshly ground pepper.  Simmer gently while stirring a few minutes more or until nicely thickened.  If desired, soup can be made thicker with more flour paste or thinner with more milk. The rosemary bits can be sieved out using a slotted spoon if desired though I leave them in because they add a pretty touch.

Add the remaining veggies and shrimp and heat gently for a minute or two. Though subtly flavoured, this soup is satisfying both visually and taste-wise with its warm colour, veggie chunks, and unctuous consistency.


In the potager, the last bits of pruning are being done and transplanting is getting under way.  The grapes vines were one of the last candidates for pruning.  There are two common ways of vine pruning, cane and spur--I prefer the latter method.  Grapes are produced on the previous season's growth, therefore, it is necessary to cut back that growth to several buds.  If it is cut back completely, no grapes will form this late summer/early fall.

Before pruning

After pruning

The buds should be spaced several inches apart on the vine's scaffolding.

One of ten vines, a make-shift birdbath, and a blackberry bush in the right background.

I had already transplanted two rhubarb, but kept procrastinating about doing the third and last one.  Dayo graciously reminded me of this pressing task--which needs to get done before the plant fully leafs out--by skirting around the end of the bed that still was home to unproductive, four-year-old strawberry plants requiring removal as to allow room for the remaining rhubarb transplant.


Since rhubarb needs to be kept moist, I made watering wells around each plant.  As mulch is so precious in my garden, I will wait for this entire bed to be filled in fairly rapidly with their large, exuberant leaves.  The huge leaves will act as a living mulch.  Before that happens, I will scratch in an organic, balanced fertilizer (NPK of 10-10-10) around each plant and water well.

That scattering of white flowers in the upper left are wild English daisies.

Relieved that I finally gotten around to finishing the rhubarb transplanting, Dayo was able to relax in the sun, rolling about and joyously rubbing himself against the patio.


Being no slacker, Dayo soon returned to active duty, on alert for any unfinished chores.


À la prochaine!

RELATED POSTS

Transplanting rhubarb
General pruning instructions
Strawberry general care
Rhubarb Crumble

Tuesday, 19 March 2013

The Goodness of Garlic: Linguine with Roasted Garlic, Parlsey, Capers & Parmesan

As I always wanted to roast heads of garlic in their skins to make a spread for bread and to use in other dishes, the surplus of last year's garlic crop is finally allowing me to fulfil my desire.  A favourite quick and easy dish of mine is linguine tossed in a buttery, garlic/caper/parsley sauce topped with freshly grated Parmesan.  This time I substituted mashed, roasted garlic for sauteed, chopped garlic.


Garlic is the only produce I presently grow enough for not only a year's supply for two but also for sowing next season's crop.  I love adding it along with chopped, fresh ginger and red pepper flakes to shrimp fried rice (watch out for the recipe!);  I adore throwing in several fat, smashed, unpeeled cloves in braised dishes like Pot-Roast of Leg of Lamb;  I delight in sprinkling chopped, fresh garlic over salads like Raw Tomatoes stuffed with Tuna.

Reserve the number of garlic heads you want to roast.  With the rest, separate into individual cloves.


Preheat oven to 400 degrees F/205 degrees C.  Peel the outer skins off the heads, leaving the individual cloves' skins on.  Slice about an 1/2 inch off the tops and dribble some drops of olive over each head, rubbing the oil with your finger to make sure the exposed surfaces are fully coated.


Either wrap each head in foil and place in an individual well of a muffin tin or my preference, tightly packed in a covered casserole dish. 

Non-sprouted garlic, that is, garlic without any green bits, is the best for achieving roasted succulence

Bake about 40 to 60 minutes depending on size of the heads until browned and the cloves can be easily pierced with a fork.  Be careful not to overdo it or the garlic will dry out and harden.


My elation began as the kitchen was filled with the alluring earthiness of roasting garlic.  It continued when taking out the garlic, I could see topaz-coloured drops oozing from the cloves.  It only increased when I popped out the warm--let them cool a bit, no singed fingers please--semi-liquid innards which I then spread eagerly on a slice of home-made French bread.


There was then an interruption in my elated state as I was disappointed with my first taste.  Perhaps my expectations were just too high for something I have been waiting so long to experience.  And then, wow, the elation returned with a vengeance, the deliciousness hitting me with a wallop!  All I could think was, squeeze out some more, spread some more, put in mouth.  Repeat. 


After a few slices, I got a glow as if I was exercising, and I then realised I was indeed doing aerobics--it was a demanding schedule to keep!  Warm, mashed, roasted garlic spread on French bread is out-of-this-world good! Most likely it will keep in the fridge for several days and can be frozen.  I say most likely because there was none left to test that possibility!

The lusty cloud of garlic fragrance permeating the kitchen got to Dayo also.  Before I started roasting the garlic he looked like this: calmly observing his realm.


Once the odoriferous brume reached his end of the food-preparation table, this is what Dayo looked like: enthusiastically playing with a paper towel.


The surplus garlic cloves can be frozen easily by peeling and then chopping finely or coarsely per preference.  A food processor comes in handy here, but a good knife and some patience does the job also.  Remember to freeze the garlic as soon as possible after chopping as the high sulphur content makes it susceptible to stinking to high heavens besides encouraging spoiling.  Per Margaret Roach's clever approach to making frozen logs of herbs, put the chopped garlic into the bottom of a freezer bag.


Squeeze the air out of the bag, making a log of chopped garlic at the bottom Then roll up, secure with string or small clips, and put in the freezer.  When needed, remove log and slice off what you need.


Onto the linguine!  Put a good sized pot on the boil.  Meanwhile, for an ample, one-sized serving gather one and a half-inch diameter of linguine, 1 or 2 teaspoon(s) of mashed, roasted garlic with extra for garnishing, one tablespoon of capers, one tablespoon of fresh, finely minced flat-leaf parsley with extra for garnishing, four tablespoons of Parmesan, one teaspoon of sweet butter, and one teaspoon of extra-virgin olive oil, a pepper mill, and some salt.


Toss the linguine into the boiling water, stirring carefully--some swear by salting the water, but I refrain since I focus on coating pasta with well seasoned sauces.  Boil till slightly undercooked, that is, about a minute less than the recommended time.


Pour the pasta and most of the water into a strainer over the sink, reserving around 1/4 cup of the pasta water.  I fit the strainer over a bowl to catch the remaining water.  Reserve only briefly because the pasta will stick together if left for more a few minutes.  In that case, you could add a little olive oil to keep the strands separate from each other.


Put the butter, olive oil, and the pasta water into the now empty pot and turn the heat on medium low, making sure the mixture is hotThen add chopped parsley, mashed, roasted garlic, capers, and the pasta.  Stir gently until the water is mostly evaporated and the mashed garlic is 'dissolved', not more than a minute as not to overcook the pasta.  If necessary the heat can be raised a bit to ease along the thickening of the sauce.  Add salt and freshly ground black pepper to taste.


Unceremoniously dump the pasta on a plate and sprinkle with Parmesan.  Put some more Parmesan in the centre, cradle some mashed, roasted garlic on it, and place a few parsley sprigs on top.  How did I handle that creamy dollop of mashed, roasted garlic nested in cheese?  As an appetiser!


What's for dessert you may ask?  More French bread spread with mashed, roasted garlic of course!  Have I mentioned that mashed, roasted garlic is, well, quite delicious?


In the garden, sowing continues as the rain permits.  The peas are now in and safely covered with horticultural fleece to keep them snug and protect them from hungry birds.  With our short springs and long summers, mid-march is the time cut-off for sowing a cool-weather crop like peas.  Thankfully the rain let up a bit as to allow my honouring this deadline.


The garlic planted last autumn is doing very well and will be eventually harvested late June when the recently frozen supply should be gone.

Young garlic plants in the background, nursery bed of 2-year-old laurels in the foreground

The blue of bearded irises is beginning to join the already established blue of sweet violets and periwinkle, awaiting for even more blue from lilacs, bluebells, and blue flowering herbs like rosemary and thyme.  For many, spring is a time for cheer, but in my garden it is the time for the lovely Blues.


À la prochaine!


RELATED LINKS

Planting garlic cloves
Harvesting and dry storage of garlic
Sowing peas

Tuesday, 12 March 2013

When Busy, Fritter Away Your Time!

Spring has arrived along with all the work, excitement, and joy that goes with it.  So what can a gardener working long hours throw together fast for a hot and tasty supper?  How about gathering whatever is lurking in the cupboard/fridge/garden such as canned tuna, broccoli, adding some flour, baking powder, and herbs/spices then binding the mixture with a beaten egg, forming it into patties and sauteing them until golden brown and happily dipping (finger food!) the warm, crunchy-but-moist delights in a cold sauce of yogurt, capers, and tomato paste?  I am speaking of course of the ever versatile fritter.


Or how I like to describe them:  a meal in a biscuit though these are more like pan-fried stuffing morphing into fish cakes.

Broccoli, garlic, and thyme came from our potager.

Spicy Roasted Broccoli & Tuna Fritters with Yogurt Dipping Sauce
(Makes sixteen 3-inch fritters)
  • Flour, white, 155 grams/1 cup*
  • Tuna, drained and mashed, individual serving can, 95 grams
  • Salt, 1/2 tsp
  • Baking powder, 1/2 tsp
  • Egg, one large
  • Broccoli, roasted, 50 grams/1/2 cup* (I used fresh, but frozen should work also though you may need less water or more flour to make the mixture)
  • Red pepper flakes or ground cayenne pepper per preferred heat level (I used just a few flakes)
  • Ginger, fresh or frozen, finely chopped, 1/2 tsp
  • Thyme, fresh, finely chopped, 1/2 tsp or dried, 1/4 tsp
  • Garlic, 1 or 2 cloves, crushed
  • Oil, vegetable (I used a mix of olive and sunflower as olive oil by itself is not the best frying medium but I love its flavour!)
  • Tomato paste, 1 T
  • Capers, whole or finely chopped (for more flavour and ease of dipping), 1 T
  • Yogurt, plain, 125 ml/4 oz
  • Lemon, sliced thinly
  • Thyme, fresh, several sprigs for garnishing
* American measure, that is, 8 oz

Preheat oven to 350 degrees F/175 degrees C.  Gather your ingredients.


Ever since my G+ friend +Rajini Rao turned me on to roasting cauliflower and broccoli, I have put away my childish things, that is, boiled broccoli and became an adult, at least in how I handle members of the cruciferous family.  Coarsely chop and put the pieces on a baking sheet lined with parchment paper.  Dribble one tablespoon of olive oil and mix until all the broccoli is well coated.  Roast about 10 minutes.  Then stir them and roast for another 10 minutes till browned on the edges and mostly tender.

Meanwhile mix the flour, salt, and baking powder in a medium-sized bowl.  Make a well in the centre and crack an egg into it.


Stir with a fork until lumpy and add the ginger, red pepper flakes, crushed garlic, minced thyme, and mashed tuna.


Add the finely minced, roasted broccoli (mince finely after the coarsely chopped broccoli is roasted). Dribble water tablespoon by tablespoon till mixture becomes a paste.


Pour an inch of oil into a skillet over high heat for a couple of minutes.  Meanwhile dip your fingers into cold water, make approximately 3-inch patties from about a slightly rounded tablespoon of mixture.


Test to see if the oil is hot enough by flinging a few drops of water; they should sizzle for a few seconds.  If the oil is sufficiently hot, you are actually steaming the fritters more than you are frying them as the oil will stay mostly on the outside and can be blotted off with paper towels--fried food is not demonic!  Lower the heat to medium-low and place the patties in the skillet, without any of them touching each other.  Brown about 3 minutes on each side.


While the fritters are frittering, mix yogurt, tomato paste, and capers together and reserve.  Thinly slice a lemon.


When nicely golden brown, remove the fritters and drain on paper towels.


Serve garnished with the lemon slices and fresh thyme along with the dipping sauce.


In the garden, pruning which has been going on for a couple of weeks will be finished soon.  I do all I can on my own, and then I make an appointment with The Calm One.  After a few cancellations and reschedulings, we come together, me armed with a pointer--not that one, this one and cut above the swollen bit, that is, the collar--and him with everything else: ladder, lopers, saws, ropes, and a very business-like attitude.

The Box Elder which enjoys a serious flirtation with various wires strung along the street--hovering just underneath them with its plentiful buds insinuating eventual luscious summer growth when a full-blown affair could happen--takes our animated discussion as to the fate of its limbs in stride as if it knows love will conquer all, and it will some day have a rendezvous with those tempting wires.


The Calm One rigged up a rope set-up with my pulling down at one end so when he completed the pruning cut the large limb did not crash into the wires or on the car parked below.  Success!  Perhaps now we will be left in peace during the summer when various work bombers descend on the quartier, 'suggesting' our tree's affection for the wires must be tamed with butchery pruning done in the wrong season.


The Box Elder was no exception to the abuse done to the trees during the ten years prior to our moving here.  The collar which contains wound-healing chemicals is still trying to knit over an inconsiderate pruning cut done years ago.

The Box Elder's main crotch is where Dayo likes to snooze.

Spring is also the time when promises made to crowded and ill-placed plants are kept.  I pledged the whole block bed to the rhubarb in a weak moment late last summer.  As the two plants looked up at me from their wedged-in corner of the bed I could see they had not forgotten my word.

I first carefully spaded around the rhubarb to determine the depth and width of the hole needed to be dug--the hole needs to be a few inches wider and deeper than the plant.  Soil was then filled into the space around the transplant and firmed.  Lastly, the rhubarb was watered thoroughly.

The compost in the red crate was put in the bottom of the hole and mixed into the soil.

And when I did the rounds, their long-lost sibling hurriedly planted in a not-so-sunny spot in the front garden made it known that it wants out of the darkness and into the light.  It arrived with the other two in a shipping box several years ago and pines for a family union.


Soon, little one, you will join the others!

If all this exuberant budding and birdsong were not enough clues that spring has sprung then Dayo pulling his first all-nighter of the season is indisputable proof that Spring is officially here.  Early the next morning The Calm One opened the sous sol and in dashed the Prodigal Cat.  So knackered he was, he slept most of the day.


Gallivanting all the night apparently is thirsty work.


ASHOO! (Yet another clue, oh, dastardly spring allergies!)  Ooops, I meant, à bientôt!

RELATED POSTS/LINKS

Pruning Guidelines 
Joe Pastry on frying is more like steaming
Roasted Broccoli Parmesan Bechamel Soup 
Composting